Seasonal
How to Clean Your Refrigerator Before Thanksgiving
November 16, 2026 · 6 min read · By the TidyHouzz team
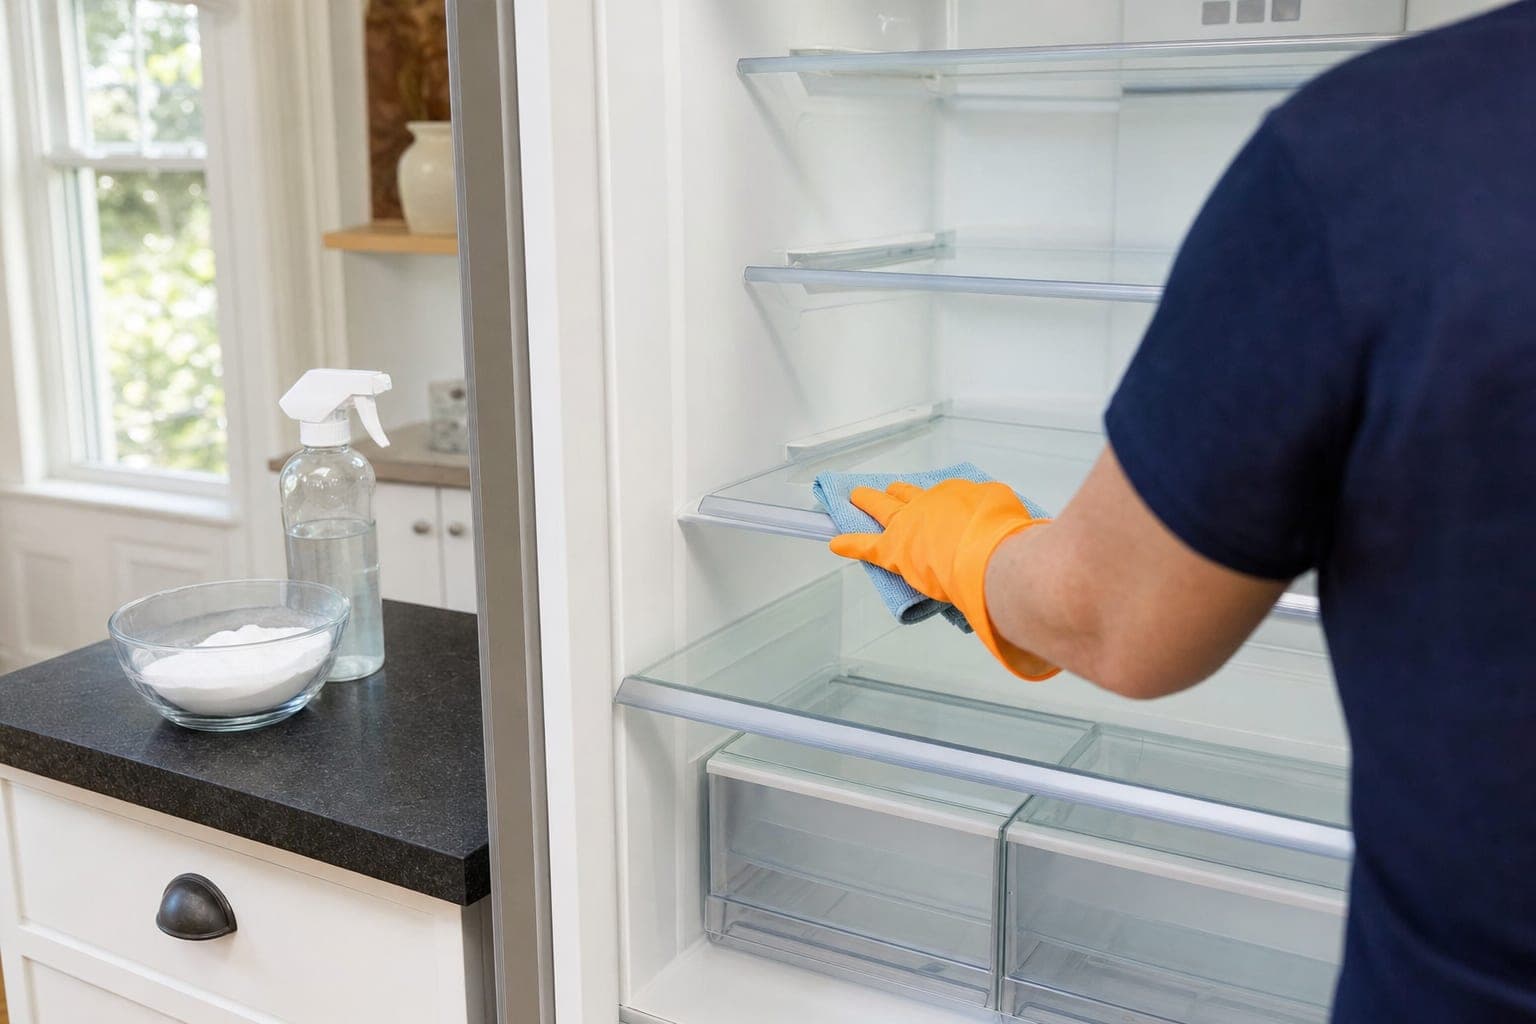
The week before Thanksgiving is the perfect time to clean out your refrigerator. You'll need every inch of space for the turkey, the sides and the pies, and then for the leftovers. Give yourself about an hour, a few simple supplies and a plan, and you'll start the holiday with a fridge that's clean, fresh and ready to work.
When to Do It
Aim for the weekend before Thanksgiving. That's early enough that you're not scrubbing shelves while the turkey thaws (a frozen bird needs several days in the fridge), and late enough that the space is still clear when the big grocery run happens.
Pick a time when the fridge is already fairly empty, like right before you shop. Less to unload means a faster job.
What You'll Need
- A cooler or two with ice packs, for anything that needs to stay cold
- A trash bag and a bin for recycling
- Baking soda and warm water (about two tablespoons of baking soda per quart)
- Mild dish soap
- Microfiber cloths and a soft sponge
- An old toothbrush for seals and corners
- Dry towels
- An open box of baking soda for afterwards
Skip bleach and harsh cleaners inside the fridge. They can leave odors behind that food picks up, and some can damage plastic liners. If you're not sure what's safe for your model, check the manual.
Step 1: Empty It and Sort Fast
Take everything out, one shelf at a time, and sort as you go:
- Toss: expired items, mystery leftovers, the last spoonful of last year's cranberry sauce.
- Keep cold: meat, dairy and leftovers go straight into the cooler.
- Group: condiments, drinks and jars on the counter, together.
This is also your chance to see what you already have. Before you write the Thanksgiving shopping list, check how much butter, cream and stock is really in there.
Step 2: Wash the Shelves and Drawers
Pull out the removable shelves and drawers and wash them in the sink with warm, soapy water. Rinse and dry them completely.
One important tip: let glass shelves warm up to room temperature before you run warm water over them. Cold glass hit with hot water can crack. Set them on a towel for a few minutes while you work on the inside.
If a shelf doesn't come out, clean it in place with the baking soda solution and a cloth.
Step 3: Clean the Inside, Top to Bottom
Work from the top shelf down, so drips land on areas you haven't cleaned yet.
- Wipe the ceiling, walls and back with a cloth dipped in the baking soda solution.
- For dried spills, lay a warm, damp cloth on the spot for a few minutes to soften it, then wipe. No scraping with knives.
- Clean the door bins. They collect sticky rings from jars and bottles.
- Use a toothbrush on the corners and the tracks where the drawers slide.
- Wipe everything again with a clean, damp cloth, then dry with a towel.
Step 4: Don't Forget the Door Seals
The rubber gasket around the door collects crumbs and spills in its folds. Clean it gently with warm, soapy water and a toothbrush, then dry it. A clean seal closes tightly, which helps the fridge hold its temperature.
Step 5: Freshen the Freezer
You don't need to defrost it, but take a few minutes for the freezer too:
- Toss anything freezer-burned or unlabeled and old.
- Wipe the shelves and door with the baking soda solution and dry them.
- Make room for ice, frozen pie crusts and, later, turkey stock and leftover portions.
Step 6: Clean the Outside
The outside is what your guests see.
- Wipe the handles first. They're touched more than anything else in the kitchen.
- Clean the doors with a cloth and mild soap. For stainless steel, wipe in the direction of the grain and dry it to avoid streaks.
- Dust the top of the fridge, where dust and grease build up quietly.
- If you can reach the front grille at the bottom, vacuum it gently. For the coils behind or underneath, unplug the fridge first and follow your manual.
Step 7: Put It Back, Smarter
Before you reload, put an open box of baking soda on a back shelf to absorb odors. Then return only what you're keeping, and leave space on purpose:
- Clear one full shelf for the turkey while it thaws. Keep it on the bottom shelf, in a pan, so juices can't drip onto other food.
- Group by meal: a bin for Thanksgiving ingredients, a bin for everyday food.
- Leave a gap for leftovers. You'll need it on Thursday night.
Wipe off jars and bottles before they go back in, so you don't bring sticky rings back onto clean shelves.
Want the Whole Kitchen Ready?
A clean fridge is a great start, but most hosts also want the oven, the stovetop and the floors done before guests arrive. Our Thanksgiving cleaning timeline walks you through what to do each week, and our guide to cleaning your oven before Thanksgiving covers the other big job.
If you'd rather spend the week cooking, a deep cleaning gets the kitchen and the rest of the house ready, and you can add the inside of the refrigerator to your visit. Families around Norwood and nearby towns book us before the holidays so they can focus on the menu and the people around the table.
Frequently asked questions
How often should I clean my refrigerator?+
Wipe spills as they happen and toss old food every week, right before you shop. A full clean like this one, with shelves out, works well every few months and before big holidays.
What's the best way to get rid of fridge odors?+
Find and remove the source first, usually an old leftover or a spill under a drawer. Wash the inside with a baking soda and warm water solution, dry it well, and keep an open box of baking soda on a back shelf.
Can I put refrigerator shelves in the dishwasher?+
Some are dishwasher-safe and many aren't, especially glass shelves with plastic trim. Check your manual. When in doubt, wash them by hand in warm, soapy water after they reach room temperature.
Ready to host without the scrubbing? Get your instant estimate at /quote or call or text us at (781) 929-3795.